

What Measurements Do You Need for Custom Wall Molding? (Complete Guide)

Meta Description: Master your DIY home renovation with our guide on wall measurements for custom wall molding. Learn exactly what Birdeco needs to design your perfect kit.
1. Introduction: The Foundation of a Flawless DIY Transformation
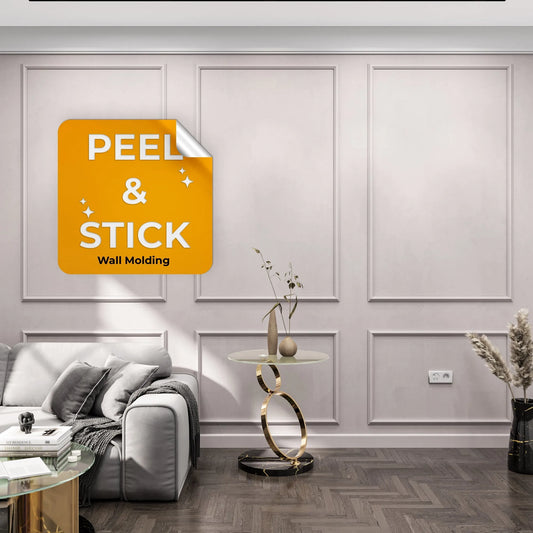
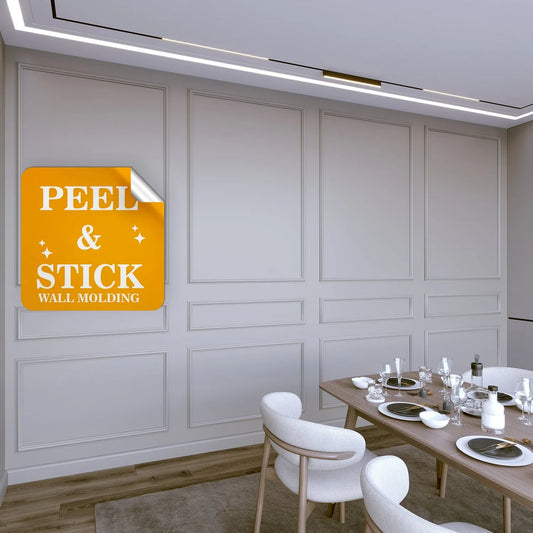
Accurate wall measurements for custom wall molding represent the critical bridge between a standard weekend DIY project and a high-end architectural upgrade. At Birdeco, we specialize in a sophisticated "No-Saw" system designed to bring custom craftsmanship to the homeowner without the need for a professional contractor. This system relies on your initial data points to deliver pre-cut, numbered, and factory-primed kits that fit with surgical precision upon arrival.
The "Birdeco Standard" is built on a "Measure Twice, Cut Once" philosophy, but we’ve evolved it: we handle the complex math, the miter cuts, and the layout logic so you don’t have to. While our design team manages the technical precision of the factory cuts, the quality of your final result begins with the specific numbers you provide. By following this expert guide, you ensure that the digital plan we create translates into a seamless, "Ready-to-Assemble" physical installation.
2. The "Must-Have" List: Essential Wall Measurements for Your Custom Design
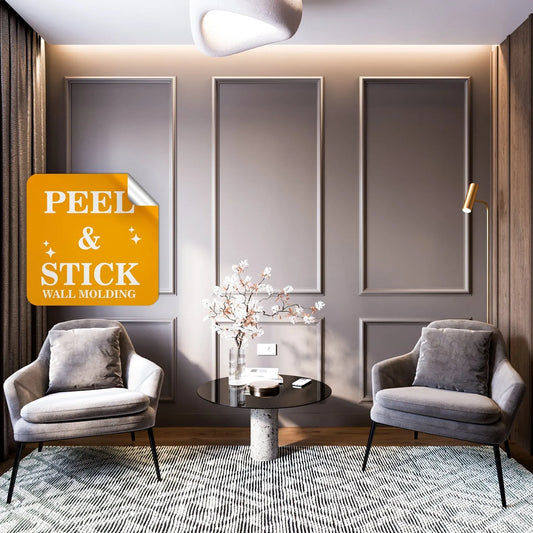
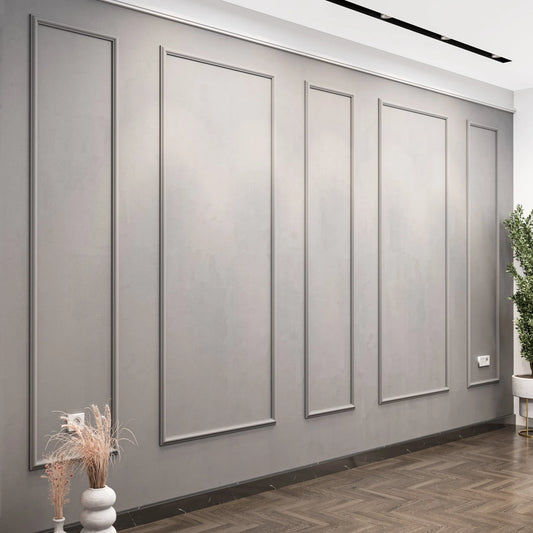
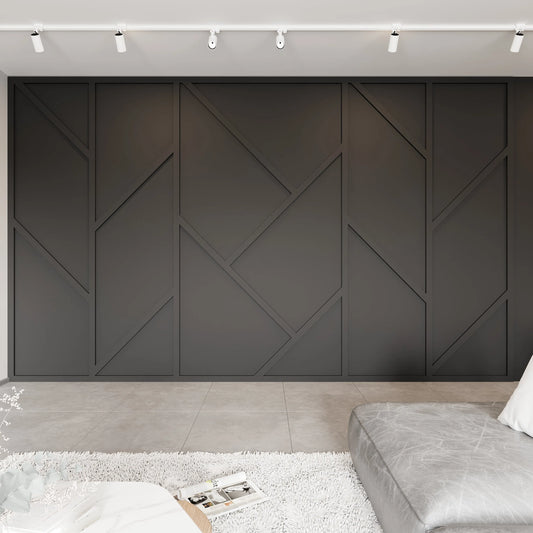
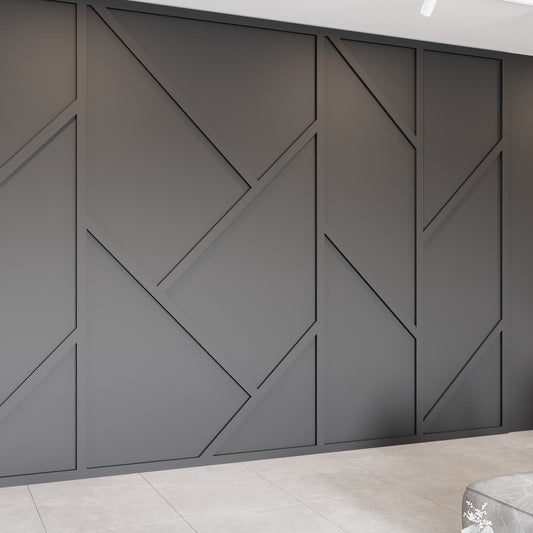
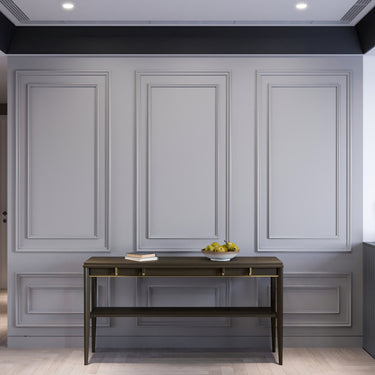
Basic dimensions serve as the anchor points for our pattern rescaling. At Birdeco, we don’t just cut wood to length; we mathematically adjust the ratios of each panel. Whether you are tackling intricate staircase molding or a classic Board and Batten look, these figures allow us to maintain perfect symmetry and balance across your unique wall space, ensuring the design feels "tailor-made" rather than forced.
Total Wall Width and Height
Capturing the full span of your workspace is the first step. However, a master carpenter knows that houses settle and walls are rarely perfectly square. You must measure the width at the top, middle, and bottom of the wall, and the height at both the left and right ends. Use the largest dimensions to ensure our designers can account for any slight variances in the "plumb" of your corners.
Ceiling Architecture
Architectural transitions—such as tray ceilings, dramatic slopes, or vaulted peaks—define the "crown" of your workspace. We need to know the specific geometry of your ceiling because it dictates the molding’s top-line finish. This ensures the frames are balanced vertically and look intentional against the ceiling’s unique profile.
Existing Trim Dimensions
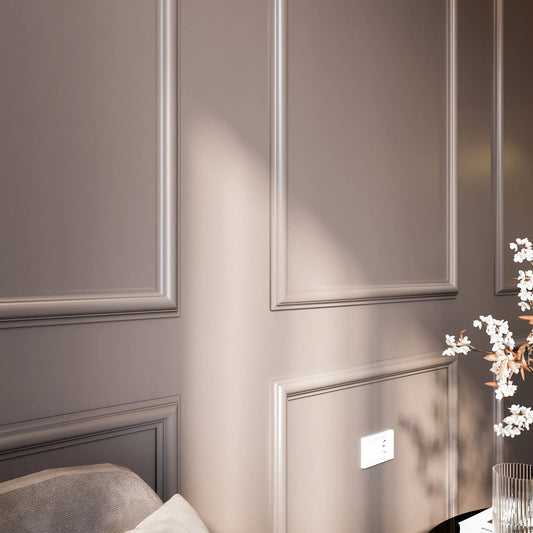
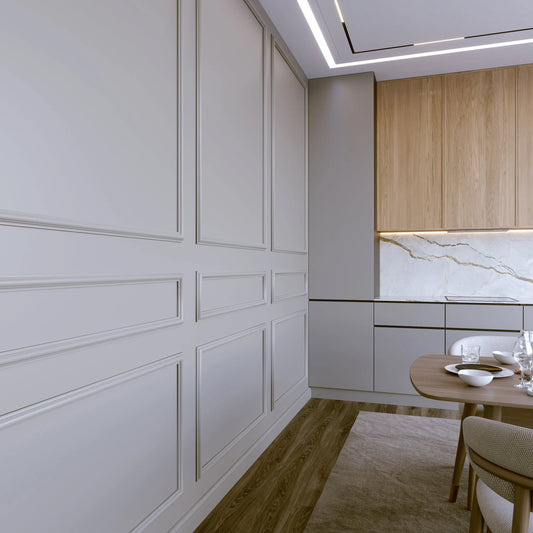
To achieve a "factory-flush" look, the dimensions of your existing baseboards and crown molding are non-negotiable. Measure the height and thickness of these elements. This data allows us to ensure your new wall molding starts and ends at the exact point required to prevent awkward gaps, delivering a professional, integrated appearance.
The "So What?" Layer: By providing these precise dimensions, you allow Birdeco to generate a digital plan that matches physical, numbered pieces. This eliminates the need for on-site cutting and ensures that the layout we rescale fits your wall to the millimeter.
3. Navigating Obstacles: Accounting for Practical Wall Features
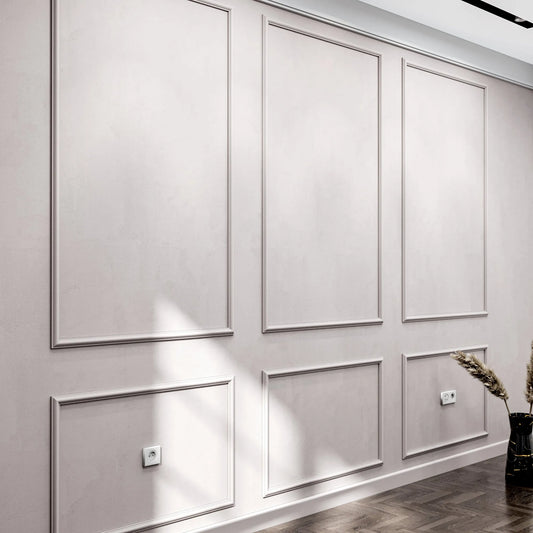
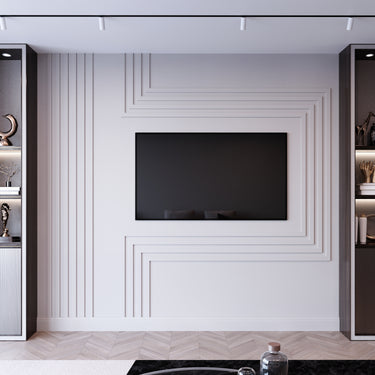
In a functional home, walls are rarely blank canvases. Outlets, switches, and windows are not just obstacles—they are design anchors. A professional layout respects these features, so the molding looks like it was part of the original architectural plan.
- Windows and Doors: Measure from the outer edge of the casing (the trim) rather than the glass. We need the full footprint of the "interruption."
- Electrical Elements: Don't just "pinpoint" outlets; provide coordinates. Measure from the floor to the center of the outlet and from the nearest corner to the center. This precision allows our design team to iterate the layout so that a molding frame either perfectly centers an outlet or avoids it entirely.
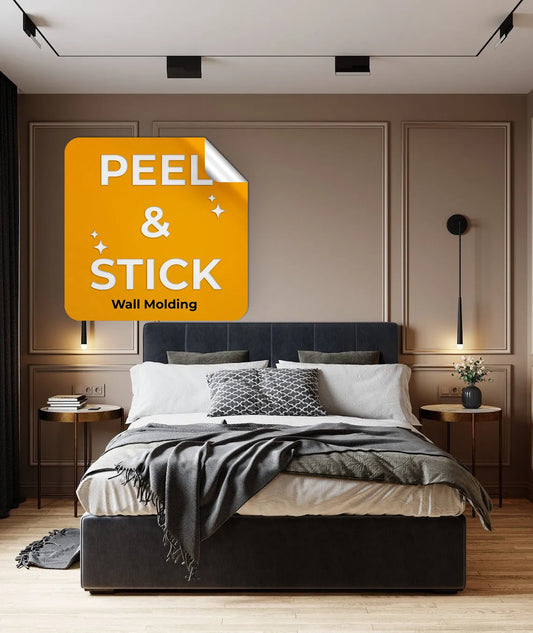
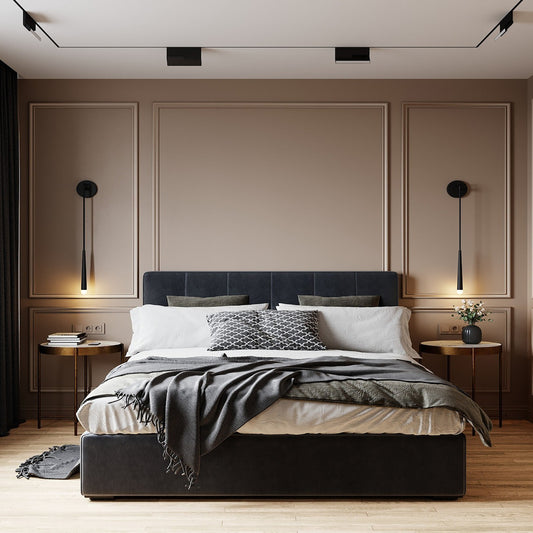
- Furniture Placement: Permanent fixtures like headboards or built-in consoles influence the "desired design area." Let us know if you want a full-wall treatment or a partial-wall layout that respects your furniture's silhouette.
So What? Layer: Measuring with this level of intentionality prevents "clashed" designs. It ensures your molding frames your home’s features with grace, rather than having a beautiful frame awkwardly bisected by a light switch.
4. Step-by-Step Guide: How to Measure Your Wall Like a Pro
Treat the measurement process as a systematic workflow. Using the specific tools of the trade ensures the data we receive is "clean" and actionable.
Tool Assembly
Before you begin, gather these essentials:
- Measuring Tape: High-quality steel tape for accuracy.
- Spirit Level or Laser Level: Essential for checking the squareness of your wall.
- Blue Painter’s Tape: For sketching and visualizing the layout.
- Construction Adhesive: We recommend Liquid Nails for the final bond.
- Brad Nailer: A 16 Gauge (1.2mm thickness / 6cm length) nailer is the expert choice for stability.
- Quick Glue & Paper Tape: For joining frame edges on the floor and securing them during installation.
The Systematic Process
- Clear the Area: Ensure the wall is free of dust, debris, and oils. Adhesion is only as good as the surface.
- Capture the Perimeter: Measure the width at the top, middle, and bottom, and the height at both ends. Record the largest figures.
- The Sketch Phase: Use your blue painter's tape to represent the panels on the wall. This visualization helps you catch potential issues with outlet placement or furniture height before we finalize your custom cut.
- Verification: Double-check your numbers. In the world of custom molding, a few millimeters can be the difference between a perfect fit and a "DIY-looking" error.
5. Common Measurement Pitfalls (And How to Avoid Them)
The "Birdeco Advantage" means we handle the complex math, but that math is only as accurate as your raw data. Avoiding these common errors ensures your "No-Saw" kit works exactly as advertised.
- The Trim Trap: A frequent mistake is forgetting to subtract the height of the baseboard from the total wall height. If the molding is to sit above the trim, the available design space is the floor-to-ceiling height minus the trim height.
- Irregularity Ignorance: Never assume your walls are square. Always check for "plumb" (vertical) and "level" (horizontal) using your spirit level.
- Unit Mismatch: While we accommodate any unit, we recommend using Inches for North American standards or Millimeters for the highest level of precision in factory cuts.
6. Pro Tips for Design Precision and Inspiration
Providing "optional" details helps the Birdeco team tailor the aesthetic to your home’s specific character.
-
Material Selection:
- High-Quality MDF: Perfect for dry rooms like bedrooms, offering a classic wood feel.
- Premium Polystyrene (PS): 100% waterproof and moisture-resistant. This is the expert’s choice for bathrooms, basements, or high-traffic areas.
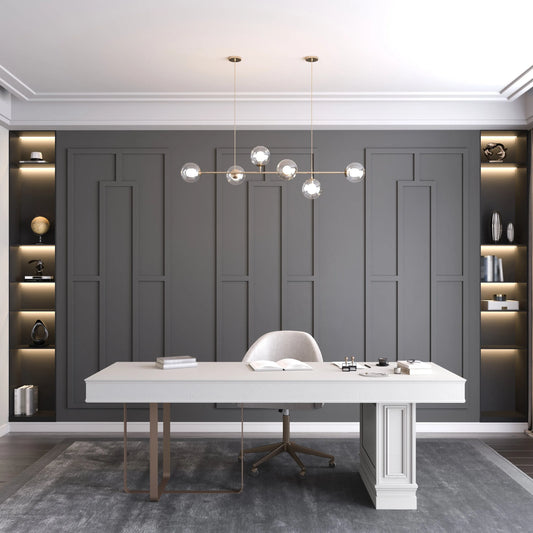
- Style Cues: Your style choice dictates the molding profile. We offer widths like 25mm (13mm thickness) for delicate, modern looks and 40mm (20mm thickness) for a bolder, classic Shaker or traditional presence.
- Visual Context: Submit "before" photos or inspiration images. Seeing the lighting and decor helps our designers optimize the panel proportions for your specific room.
7. Conclusion: From Measurements to a Masterpiece
The Birdeco system is designed to take the technical burden off your shoulders. By providing accurate dimensions and noting your wall’s unique features, you enable us to deliver a factory-primed, pre-cut, and numbered kit that requires absolutely no sawing. Our design team will iterate the layout until you are 100% confident.
Ready to transform your space? Grab your tape measure, capture those coordinates, and submit your dimensions to the Birdeco design team today for your custom layout.
8. Frequently Asked Questions (FAQ)
What tools do I need for installation? For a professional finish, you need a spirit level (or laser level), Liquid Nails (construction adhesive), blue painter's tape, and paper tape to hold pieces in place. For maximum stability, use a brad nailer with 16-gauge nails (1.2mm x 6cm).
Can I paint the molding? Absolutely. All Birdeco molding is factory-primed. You can paint it directly with any interior paint. Because the surface is already clean and factory-finished, no sanding is required.
What if my wall has outlets? We specialize in this. Simply provide the coordinates from the floor and the nearest corner to the center of the outlet. We will adjust the layout so the molding either frames the outlet perfectly or bypasses it.
Is the molding waterproof? Our Premium Polystyrene (PS) option is 100% waterproof and moisture-resistant, making it the ideal choice for high-humidity bathrooms or basements.
How do I know where each piece goes? Every piece in your kit is numbered on the back. These numbers correspond to a custom digital and physical technical plan included in your package, making the "Ready-to-Assemble" process foolproof.
Do I need to be a professional to install this? No. We have engineered the "No-Saw" DIY focus specifically so that any homeowner can achieve a professional architectural result. Because every piece is pre-cut and pre-mitered, the most difficult parts of master carpentry are already done for you.