"DIY Guide to Installing Wall Molding"
If you're looking for a DIY project that can add elegance and sophistication to any room in your home, installing wall molding is a great option. Wall molding, also known as trim or crown molding, can be installed around doors, windows, and ceilings to add a decorative and functional element to your home. In this DIY guide, we'll walk you through the steps of installing wall molding, from choosing the right type of molding to finishing the project.
Before you begin installing wall molding, you need to choose the right type of molding for your project. There are several different types of wall molding, including crown molding, chair rail molding, picture frame molding, and baseboard molding.
Crown molding is a type of molding that is installed along the top of a wall where it meets the ceiling. It can add a touch of elegance to any room and is available in a variety of styles and sizes.
Chair rail molding is a type of molding that is installed at chair-height along a wall. It can add visual interest to a room and can be used to divide a wall into two separate sections.
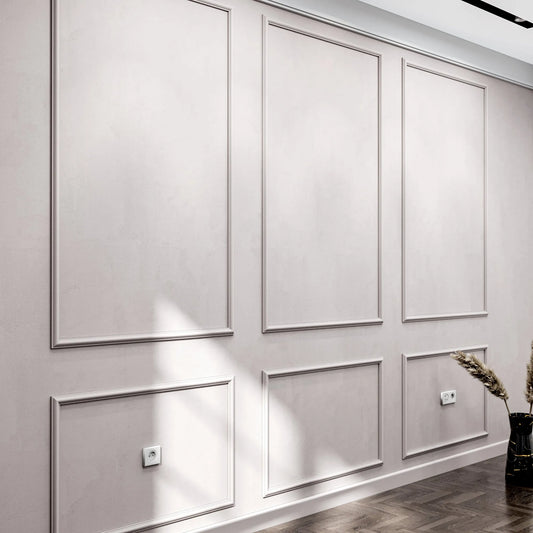
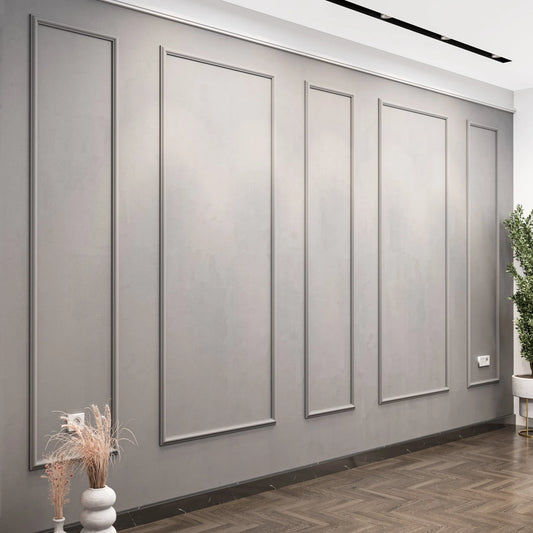
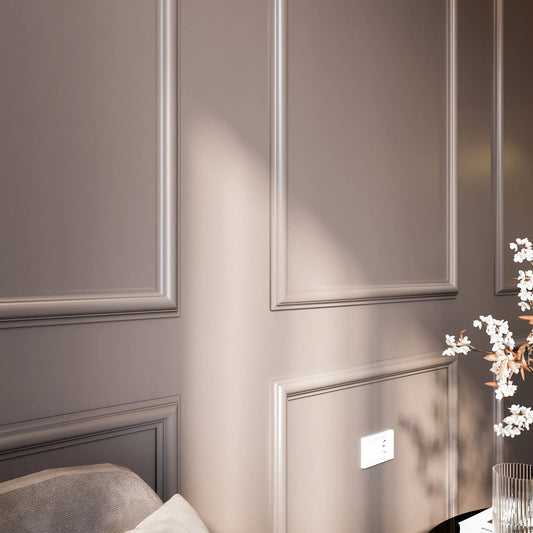
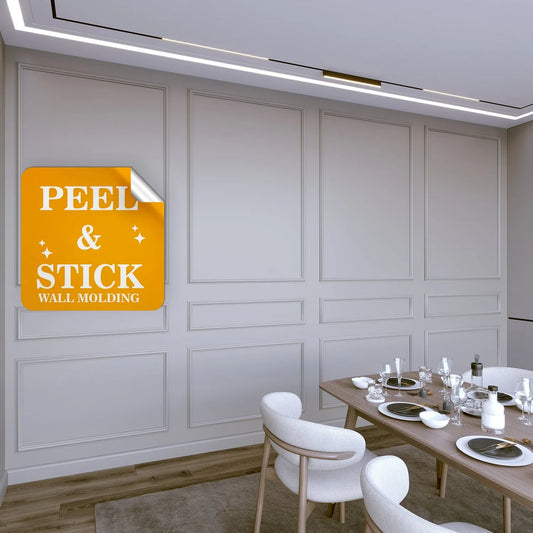
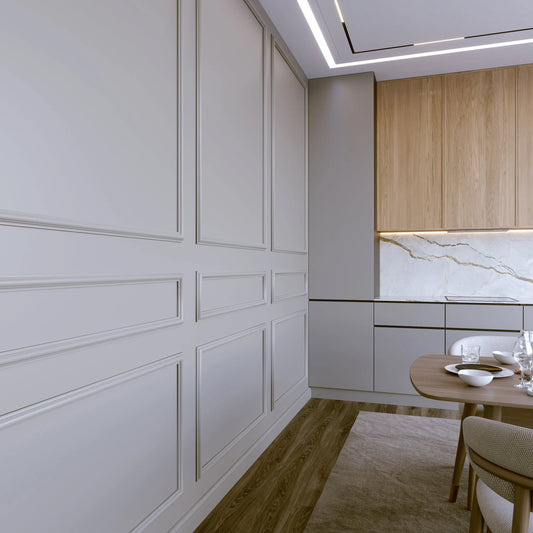
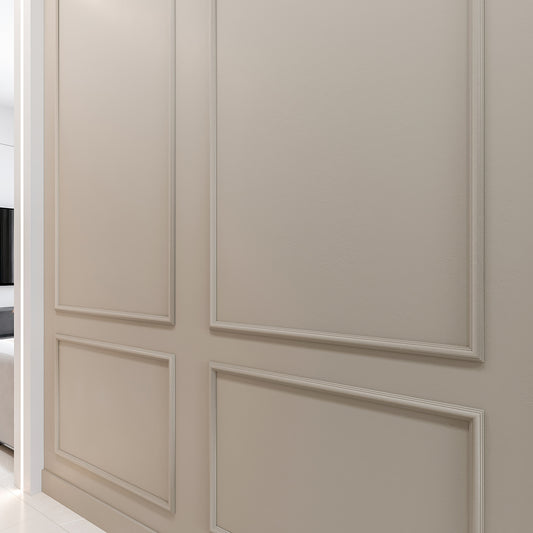
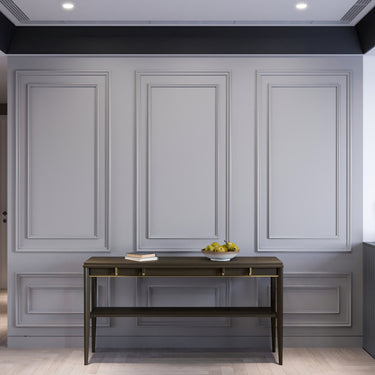
Picture frame molding is a type of molding that is installed in a rectangular or square shape on a wall. It can be used to create a decorative accent wall or to add visual interest to a plain wall.
Baseboard molding is a type of molding that is installed at the base of a wall where it meets the floor. It can add a finished look to a room and can also help to protect the wall from scuffs and scratches caused by furniture.
Once you have chosen the right type of molding for your project, you can purchase the necessary materials and tools.
Before you begin installing your molding, you need to measure the length of each wall where you will be installing it. Measure twice to ensure that you have accurate measurements. Once you have your measurements, you can use a miter saw or a hand saw to cut your molding to the correct length and angle.
If you're new to using a miter saw, be sure to practice on scrap pieces of molding before cutting your actual molding. You want to make sure that your cuts are precise and that your molding fits together properly.
Now that you have your molding cut to the correct length and angle, it's time to install it. Start by applying a thin line of construction adhesive along the back of your molding. Then, press your molding firmly against the wall where you want it to be installed.
Next, use a finish nail gun or a hammer and finishing nails to secure your molding to the wall. Be sure to nail your molding into the studs behind the drywall to ensure that it is secure.
Repeat this process for each piece of molding that you are installing.
Once you have installed all of your molding, it's time to fill in the nail holes. You can use wood filler or spackling to fill in the nail holes. Apply the filler or spackling with a putty knife and smooth it out. Once it's dry, sand it down until it's smooth.
Now that your nail holes are filled in and sanded smooth, it's time to paint or stain your molding. You can use a brush or a sprayer to apply your paint or stain. Be sure to use a high-quality paint or stain that is appropriate for your type of molding.
Once your paint or stain is dry, you can sit back and admire your newly installed wall molding.
Installing wall molding is a DIY project that can add elegance and sophistication to any room in your home. By choosing the right type
If you're looking for a DIY project that can add elegance and sophistication to any room in your home, installing wall molding is a great option. Wall molding, also known as trim or crown molding, can be installed around doors, windows, and ceilings to add a decorative and functional element to your home. In this DIY guide, we'll walk you through the steps of installing wall molding, from choosing the right type of molding to finishing the project.
Step 1: Choose Your Wall Molding
Before you begin installing wall molding, you need to choose the right type of molding for your project. There are several different types of wall molding, including crown molding, chair rail molding, picture frame molding, and baseboard molding.
Crown molding is a type of molding that is installed along the top of a wall where it meets the ceiling. It can add a touch of elegance to any room and is available in a variety of styles and sizes.
Chair rail molding is a type of molding that is installed at chair-height along a wall. It can add visual interest to a room and can be used to divide a wall into two separate sections.
Picture frame molding is a type of molding that is installed in a rectangular or square shape on a wall. It can be used to create a decorative accent wall or to add visual interest to a plain wall.
Baseboard molding is a type of molding that is installed at the base of a wall where it meets the floor. It can add a finished look to a room and can also help to protect the wall from scuffs and scratches caused by furniture.
Once you have chosen the right type of molding for your project, you can purchase the necessary materials and tools.
Step 2: Measure and Cut Your Molding
Before you begin installing your molding, you need to measure the length of each wall where you will be installing it. Measure twice to ensure that you have accurate measurements. Once you have your measurements, you can use a miter saw or a hand saw to cut your molding to the correct length and angle.
If you're new to using a miter saw, be sure to practice on scrap pieces of molding before cutting your actual molding. You want to make sure that your cuts are precise and that your molding fits together properly.
Step 3: Install Your Molding
Now that you have your molding cut to the correct length and angle, it's time to install it. Start by applying a thin line of construction adhesive along the back of your molding. Then, press your molding firmly against the wall where you want it to be installed.
Next, use a finish nail gun or a hammer and finishing nails to secure your molding to the wall. Be sure to nail your molding into the studs behind the drywall to ensure that it is secure.
Repeat this process for each piece of molding that you are installing.
Step 4: Fill in the Nail Holes
Once you have installed all of your molding, it's time to fill in the nail holes. You can use wood filler or spackling to fill in the nail holes. Apply the filler or spackling with a putty knife and smooth it out. Once it's dry, sand it down until it's smooth.
Step 5: Paint or Stain Your Molding
Now that your nail holes are filled in and sanded smooth, it's time to paint or stain your molding. You can use a brush or a sprayer to apply your paint or stain. Be sure to use a high-quality paint or stain that is appropriate for your type of molding.
Once your paint or stain is dry, you can sit back and admire your newly installed wall molding.
Conclusion
Installing wall molding is a DIY project that can add elegance and sophistication to any room in your home. By choosing the right type


